One of the key advantages of using APIs is the ability to perform actions that modify data on a service — and to do so programmatically, without needing a graphical user interface.
This is especially useful when you’re:
Prototyping or testing how to interact with a platform
Automating processes that involve sending or retrieving data
Building tools or workflows that rely on real-time API communication
In this section, we’ll explore how to use the POST method to send data to a server, using features from The Cat API such as adding favorite images.
Uploading Your First Image
Since we have an API key, we also have a user ID assigned. That means we can upload images to our “own” collection.
Warning
Keep in mind that The Cat API is primarily a testing platform. It’s not intended to store personal information long-term.
Uploading pictures of your cats is totally fine, just don’t use it as a personal photo album! 😉
Let’s test this by creating a new GET request called “myImages”.
Add it to your CatAPI collection.
Make sure the CatAPI environment is selected.
In the URL field, enter:
{{url}}/images/
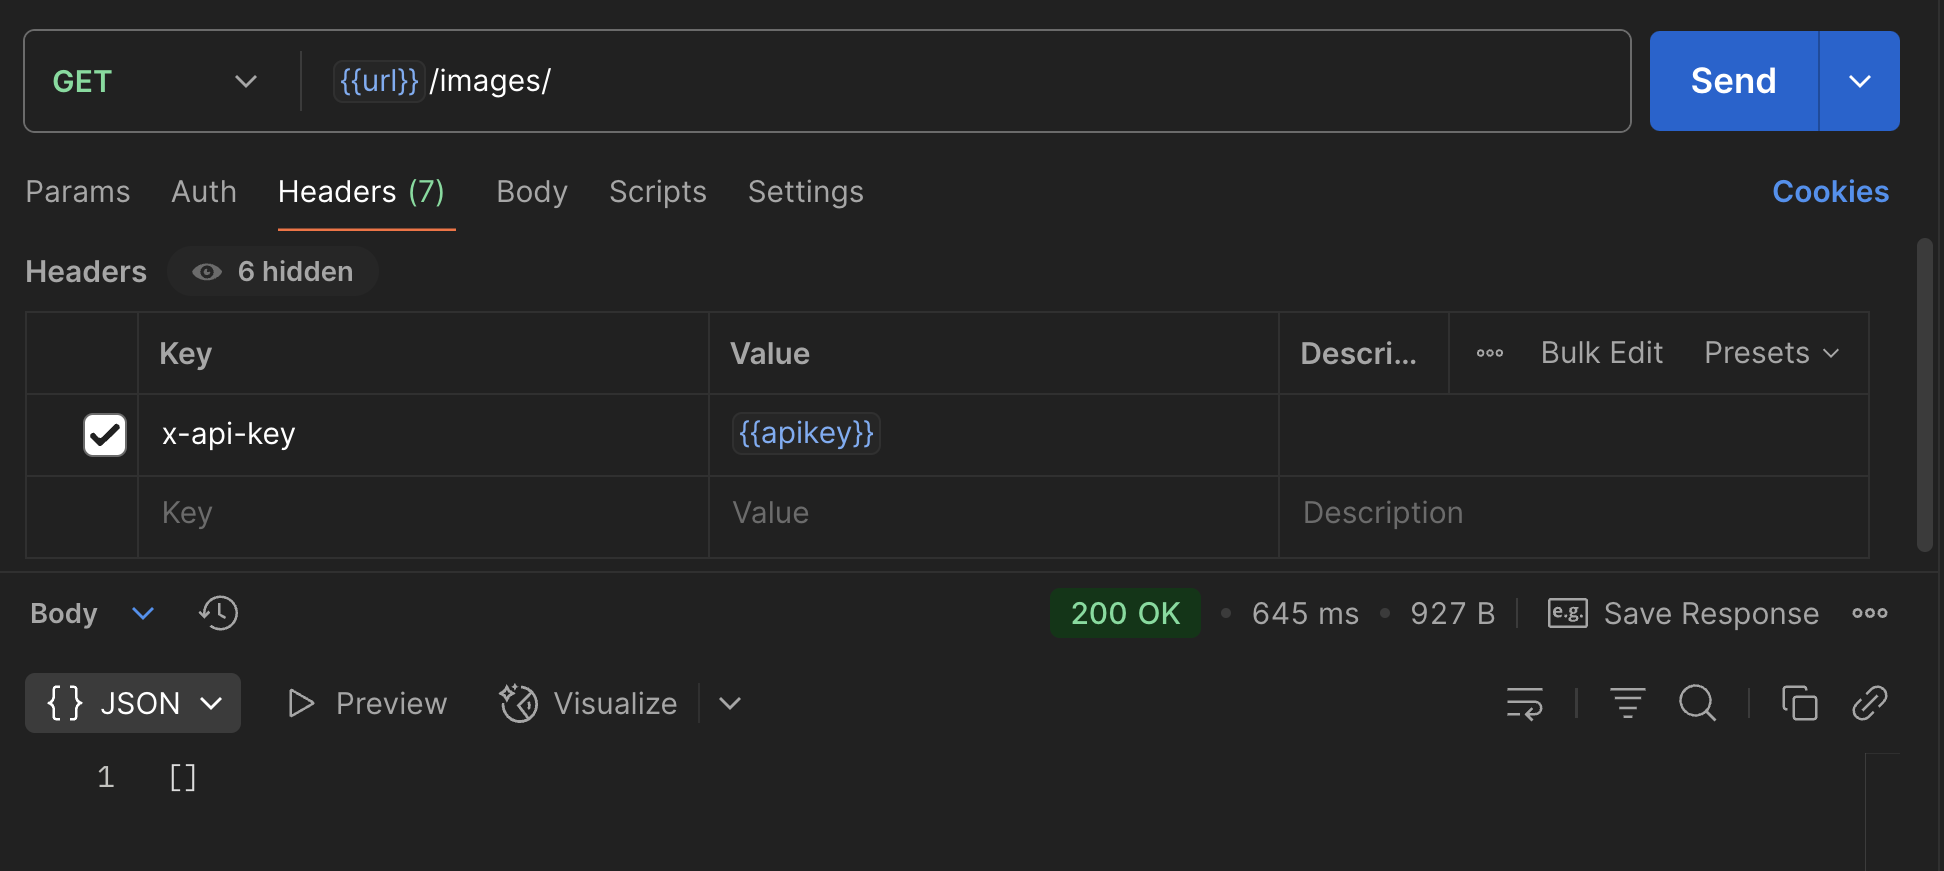
If you run this request, you might see an error message like this:
AUTHENTICATION_ERROR- the header "x-api-key" is invalid, check it then try again
This happens because we haven’t included our api_token secret in the request headers. Once you add the header (x-api-key: {{api_token}}), run the request again — you should now get an empty array in the response.
That means your personal image collection is accessible — and ready for uploads!
POSTMAN images collection
Writing the POST Request
To understand how to upload an image to The Cat API using a POST request, let’s refer to their documentation ↗️.
Once there, navigate to the Images section and locate:
POST/images/upload
This page provides useful information for constructing our request. Focus on the “Request Body Schema” section. It lists three parameters:
Parameter
Type
Description
file
string <binary>
The binary file data of the image to be uploaded.
sub_id
string (optional)
A string used to segment your images (e.g., identify the user).
breeds_ids
string (optional)
Comma-separated list of breed IDs shown in the image.
To keep things simple, we’ll just use the required file parameter. As noted, it accepts a string of type binary, which refers to the actual image file you want to upload.
Let’s walk through how to set up this POST request in Postman.
In your collection, create a new request and name it “Upload Cat Image”.
Change the request type from GET to POST.
Ensure the CatAPI environment is selected.
In the URL field, enter:
{{url}}/images/upload
Add the API key
Go to the Headers tab and add the following:
Key: x-api-key
Value: {{api_token}}
Configure the request body
Click the Body tab. You’ll see several content type options:
Type
Description
none
No data will be sent with the request.
form-data
Simulates form submissions (key, data type, and value).
x-www-form-urlencoded
Sends key-value pairs in URL-encoded format (similar to form-data).
raw
Used to send raw text (typically JSON or XML).
binary
Used to send files like images, video, or audio.
GraphQL
For structured GraphQL queries to compatible APIs.
We’ll use form-data for this request — even though the image is binary — as indicated in The Cat API documentation.
Sending Binary Content
Postman makes it easy to upload files as part of a request. When using the desktop application, you can simply select the image file from your computer, and Postman will attach it as binary content in the body of the request.
Warning
Remember that this is a public testing API. If you’re uploading a picture of your cat, make sure not to include any people, addresses, or personal information in the image or filename.
Now, this part can be a little confusing: although the file itself is binary, we still need to use the form-data option — not the binary option.
NoteWhy use form-data instead of binary?
The reason is that the API expects the image to be sent as part of a multipart/form-data request — just like a file upload in a browser form. The binary mode in Postman sends only the file content, without a field name or other metadata. But the Cat API expects a form-like structure with the field named file.
In simple terms: if we send the data as binary, the server won’t know what to do with it.
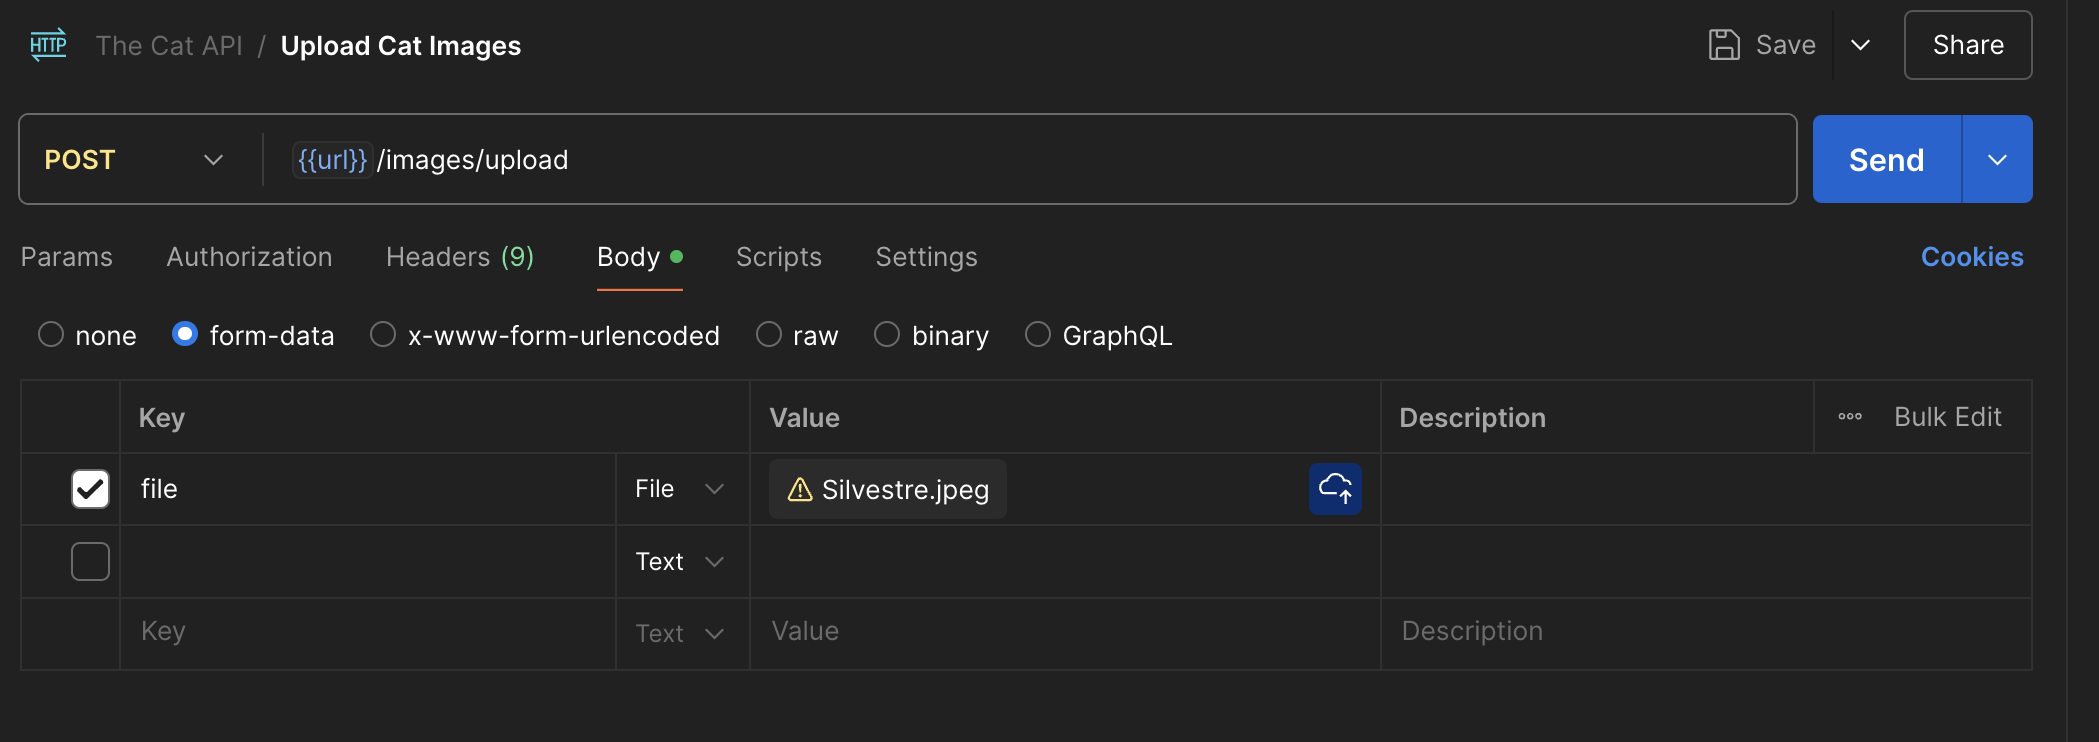
Let’s attach our image by selecting form-data from the Body menu. Then, add the following:
Key: file
From the dropdown menu next to the key, select File instead of Text.
Value: Click + Select File and choose a file from your local machine.
You should see something like this:
POSTMAN Body file-form attached file
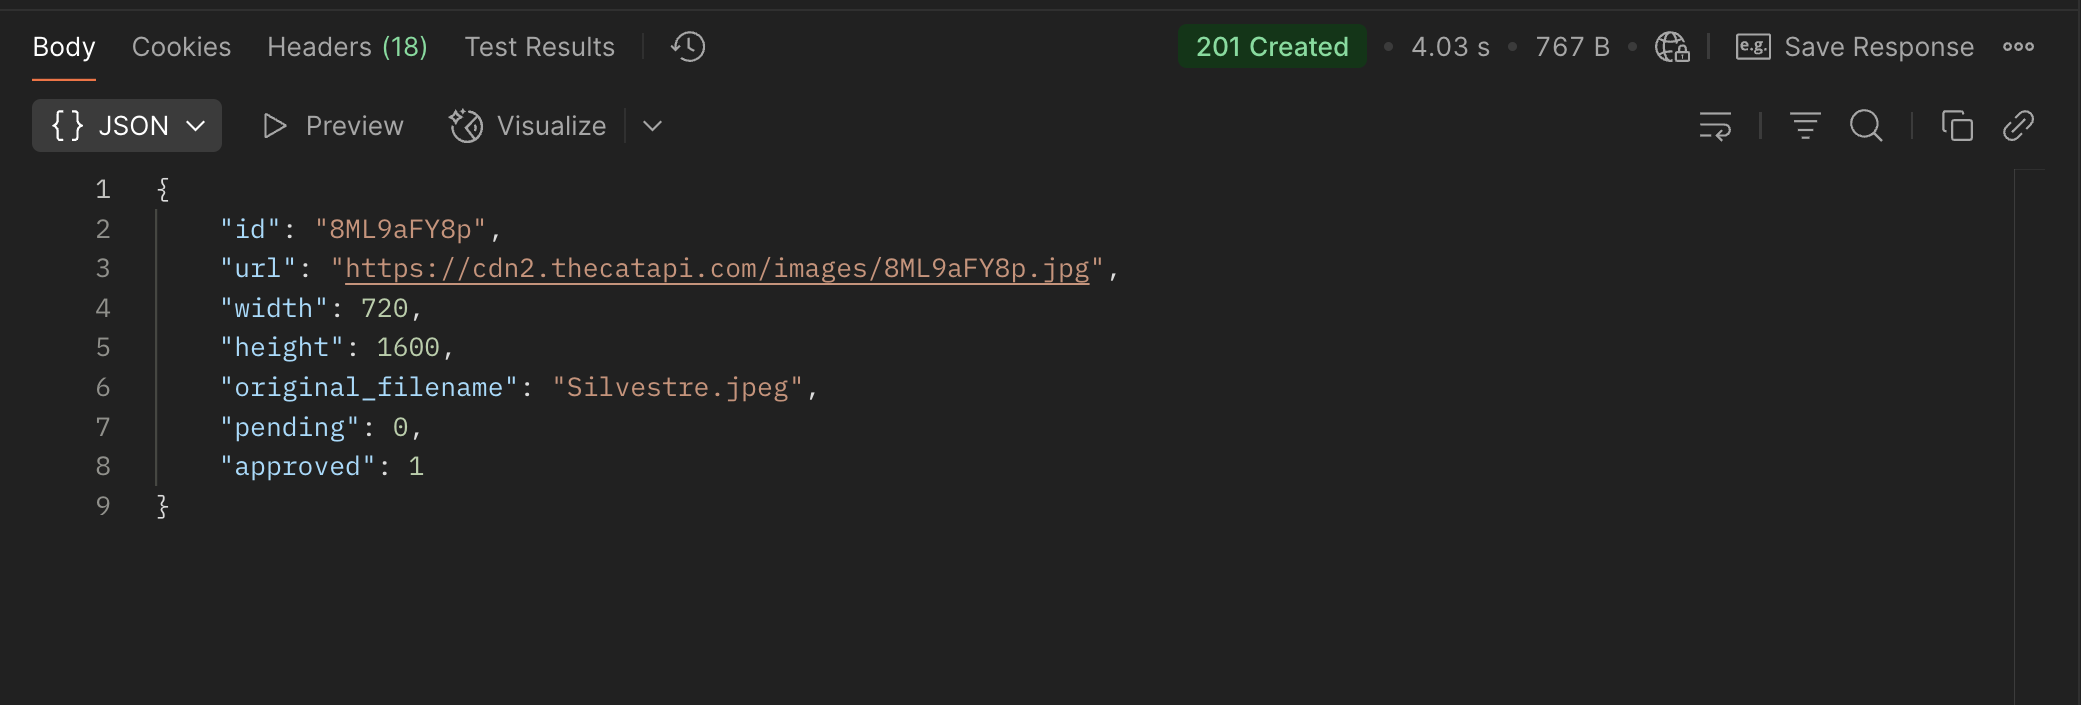
Now you can send the request. If it’s successful, you’ll see a response like this:
POSTMAN POST request success message
The warning icon before the filename and the cloud upload symbol are optional indicators — useful if you’re working in a shared workspace and want to sync files with your team.
Once uploaded, you can access the image directly from The Cat API using the ID it returns — in this case, 8ML9aFY8p.
In this example, we only explored one type of request body — form-data. But APIs can require many different formats, and it’s up to the API designers to define how they expect data to be sent.
That’s why reading the documentation is essential. To know how to send a POST (or any other type of request), you first need to understand how the API expects the request to be structured — including parameters, headers, and body format.
In the next section, we’ll explore how to work with DELETE requests, and then move on to the more sophisticated GitHub REST API.