Working with the GitHub API
The GitHub API is a powerful tool for developers, researchers, and data analysts. It allows you to programmatically interact with almost every feature available on GitHub’s website — including repositories, issues, users, and more.
In this section, we’ll explore a curated set of endpoints from the GitHub REST API using Postman. We’ll build on what we learned in previous chapters: setting headers, using variables, and making GET, POST, PATCH, and DELETE requests.
The only requirement to access most of GitHub’s API is an authorization token, which you can generate in your GitHub settings.
Getting Your GitHub Authorization Token
To access private endpoints or perform actions like creating issues or repositories, GitHub requires an authorization token. This token acts like a password for your API requests, so keep it secret and secure.
Here’s how to generate one:
- Go to GitHub and log into your account.
- Navigate to your Developer settings:
- Click your profile photo (top right) → Settings
- Scroll down to Developer settings
- In the left sidebar, select Personal access tokens → then Tokens (classic)
- Click the Generate new token (classic) button.
- Fill out the form:
- Note: Give your token a descriptive name, e.g.
Postman Workshop Token - Expiration: Choose any short duration (e.g. 7 or 30 days)
- Scopes:
- Check the box for
repo→ this includes issues, pull requests, and repo access - You can also select
read:useranduser:emailif you want user info
- Check the box for
- Note: Give your token a descriptive name, e.g.
- Click Generate token
GitHub will only show the token once. Copy it immediately and save it somewhere secure (e.g., directly into Postman).

Add It to Postman
- Create a new environment named
GitHub Env. - Add a secret variable:
- Variable:
gh_token - Type:
secret - Initial value: (paste your token here)
- Current value: will be filled automatically
- Variable:
- Save the environment.
You’ll now be able to authorize your GitHub requests by including this header in each request:
Authorization: Bearer {{gh_token}}
Postman will automatically substitute {gh_token} with your real token, keeping it secure.
This is also a good moment to set a default variable for the GitHub base URL.
We’ll use the variable gh_URL to store: https://api.github.com.
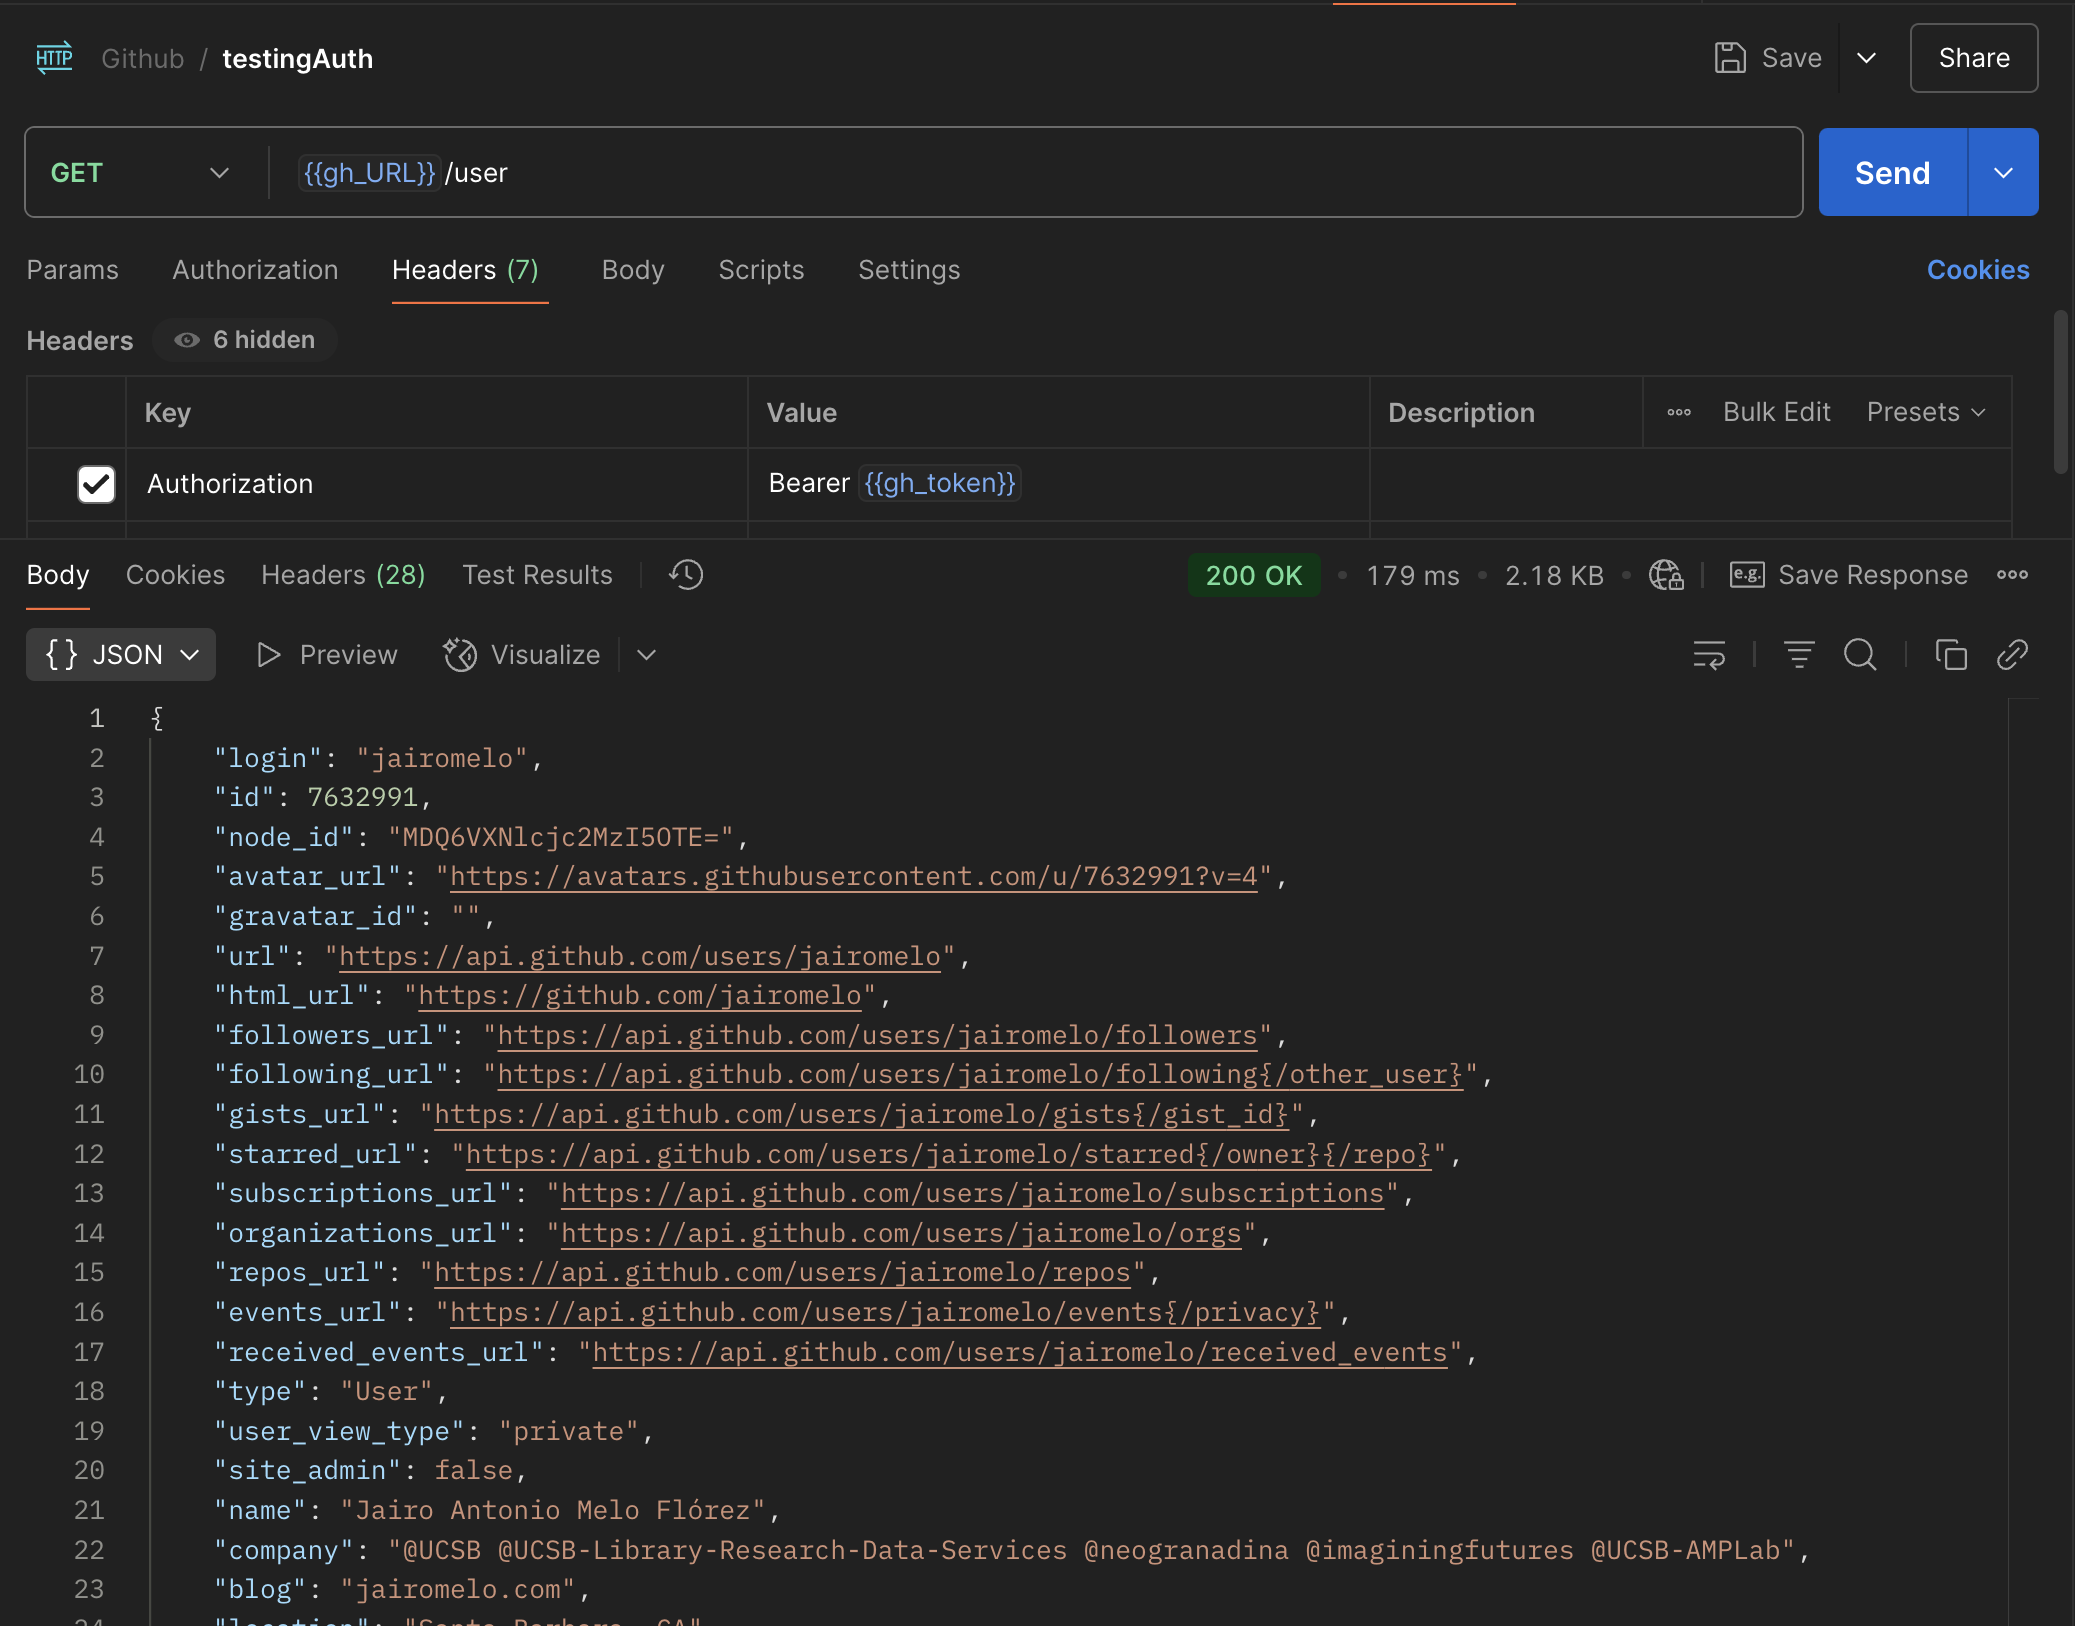
Testing the Authorization Token
Let’s confirm that your GitHub token is working correctly by sending a simple authenticated GET request.
We’ll use this endpoint:
GET {{gh_URL}}/user
This returns information about the authenticated user — meaning: you!
Steps
- In your GitHub collection in Postman, create a new request called “Get Authenticated User”.
- Set the method to
GET. - In the URL field, enter:
{gh_URL}/user - In the Headers tab, add:
- Key:
Authorization - Value:
Bearer {{gh_token}}
(Don’t forget to includeBearerbefore the token!)
- Make sure the GitHub environment is selected.
- Click Send.
If everything is working, you’ll get a response that includes your GitHub user information:
login(your GitHub username)idpublic_reposcreated_at, etc.
If you receive a 401 Unauthorized error, double-check:
- Your token is correct and hasn’t expired
- You added
Bearerbefore{{gh_token}} - The header name is exactly:
Authorization
Ready to Explore More?
With your environment set up and your authentication tested, you’re now ready to explore a wide range of endpoints in the GitHub API.
From retrieving repository data to creating issues or managing user activity, the GitHub API gives you programmatic access to one of the world’s largest collaborative platforms, and you’ve already taken the most important step: connecting securely.
In the next section, we’ll explore a few real-world use cases with the GitHub API to practice sending GET, POST, PATCH, and DEL requests.