Basic Requests using Postman
In this section, we’ll create a workspace in Postman and perform a few basic GET requests using The Cat API.
The screenshots in this notebook were taken from the Postman Desktop application running on macOS.
- Version: 11.42.1
- UI Version: 11.42.1-ui-250421-2337
- Desktop Platform Version: 11.41.4 (11.41.4)
While Postman’s interface and features may continue to evolve (see the release notes for updates), the core concepts covered in this guide will remain relevant across future versions.
Starting with a Workspace
Workspaces help keep your requests organized and make it easier to collaborate with others. To create a new workspace, go to Workspaces → Create Workspace and choose a Blank workspace.
You’ll be prompted to enter a name, select a workspace type, and manage access settings.
For this exercise, we’ll use the following setup:
- Name:
My Requests - Type:
Internal workspace - Access: Keep the default — everyone in your team can access it
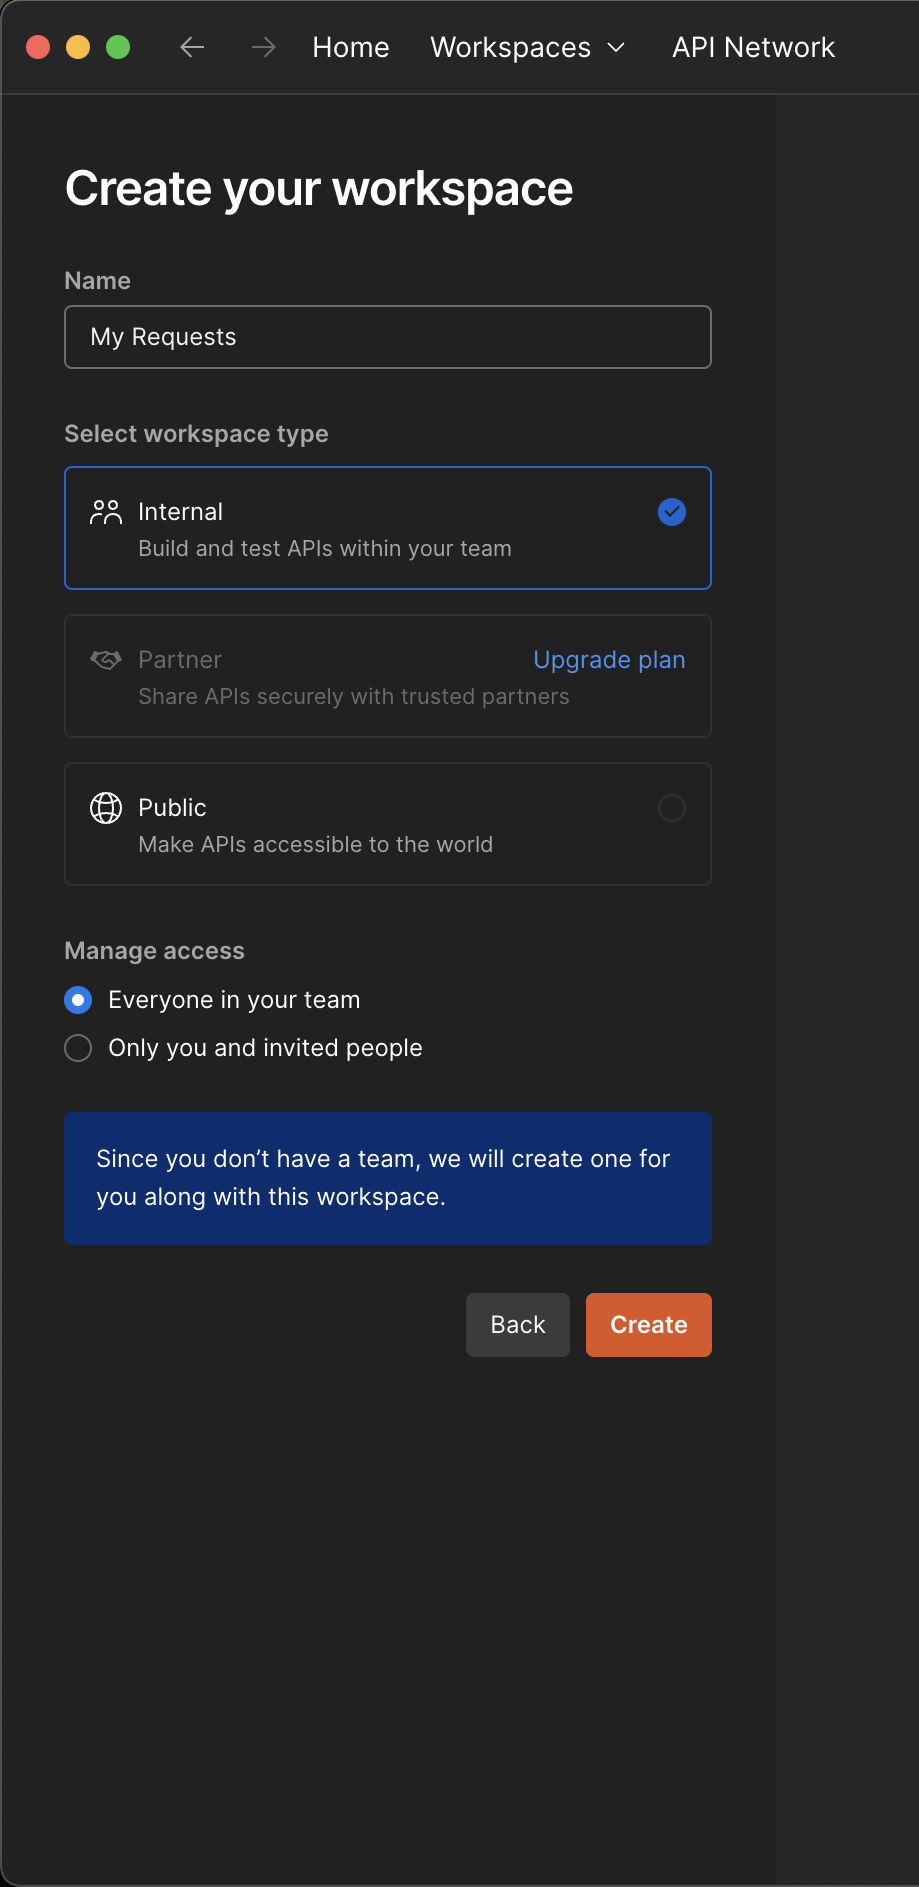
If you haven’t set up a team in Postman yet, you’ll be prompted to fill out a simple form to create one. Just keep it straightforward: choose any name for your team, select Other for the question “What will your team work on?”, and confirm.
Once your team is created, you’ll be ready to add some collections.
Creating a Collection
Once your workspace and team are set up, the next step is to create a collection. Collections are folders that help you group and organize your API requests. They’re especially useful when working with multiple endpoints from the same service.
To create a new collection:
- In the left sidebar, click the
Collectionstab. - Click the
+ Blank Collectionbutton. - Give your collection a name. For this exercise, you can name it “The Cat API”.
- (Optional) Add a description to explain what this collection is for.
- Click Create.
You’ll now see your new collection listed in the sidebar. We’ll add our first GET request to it in the next step.
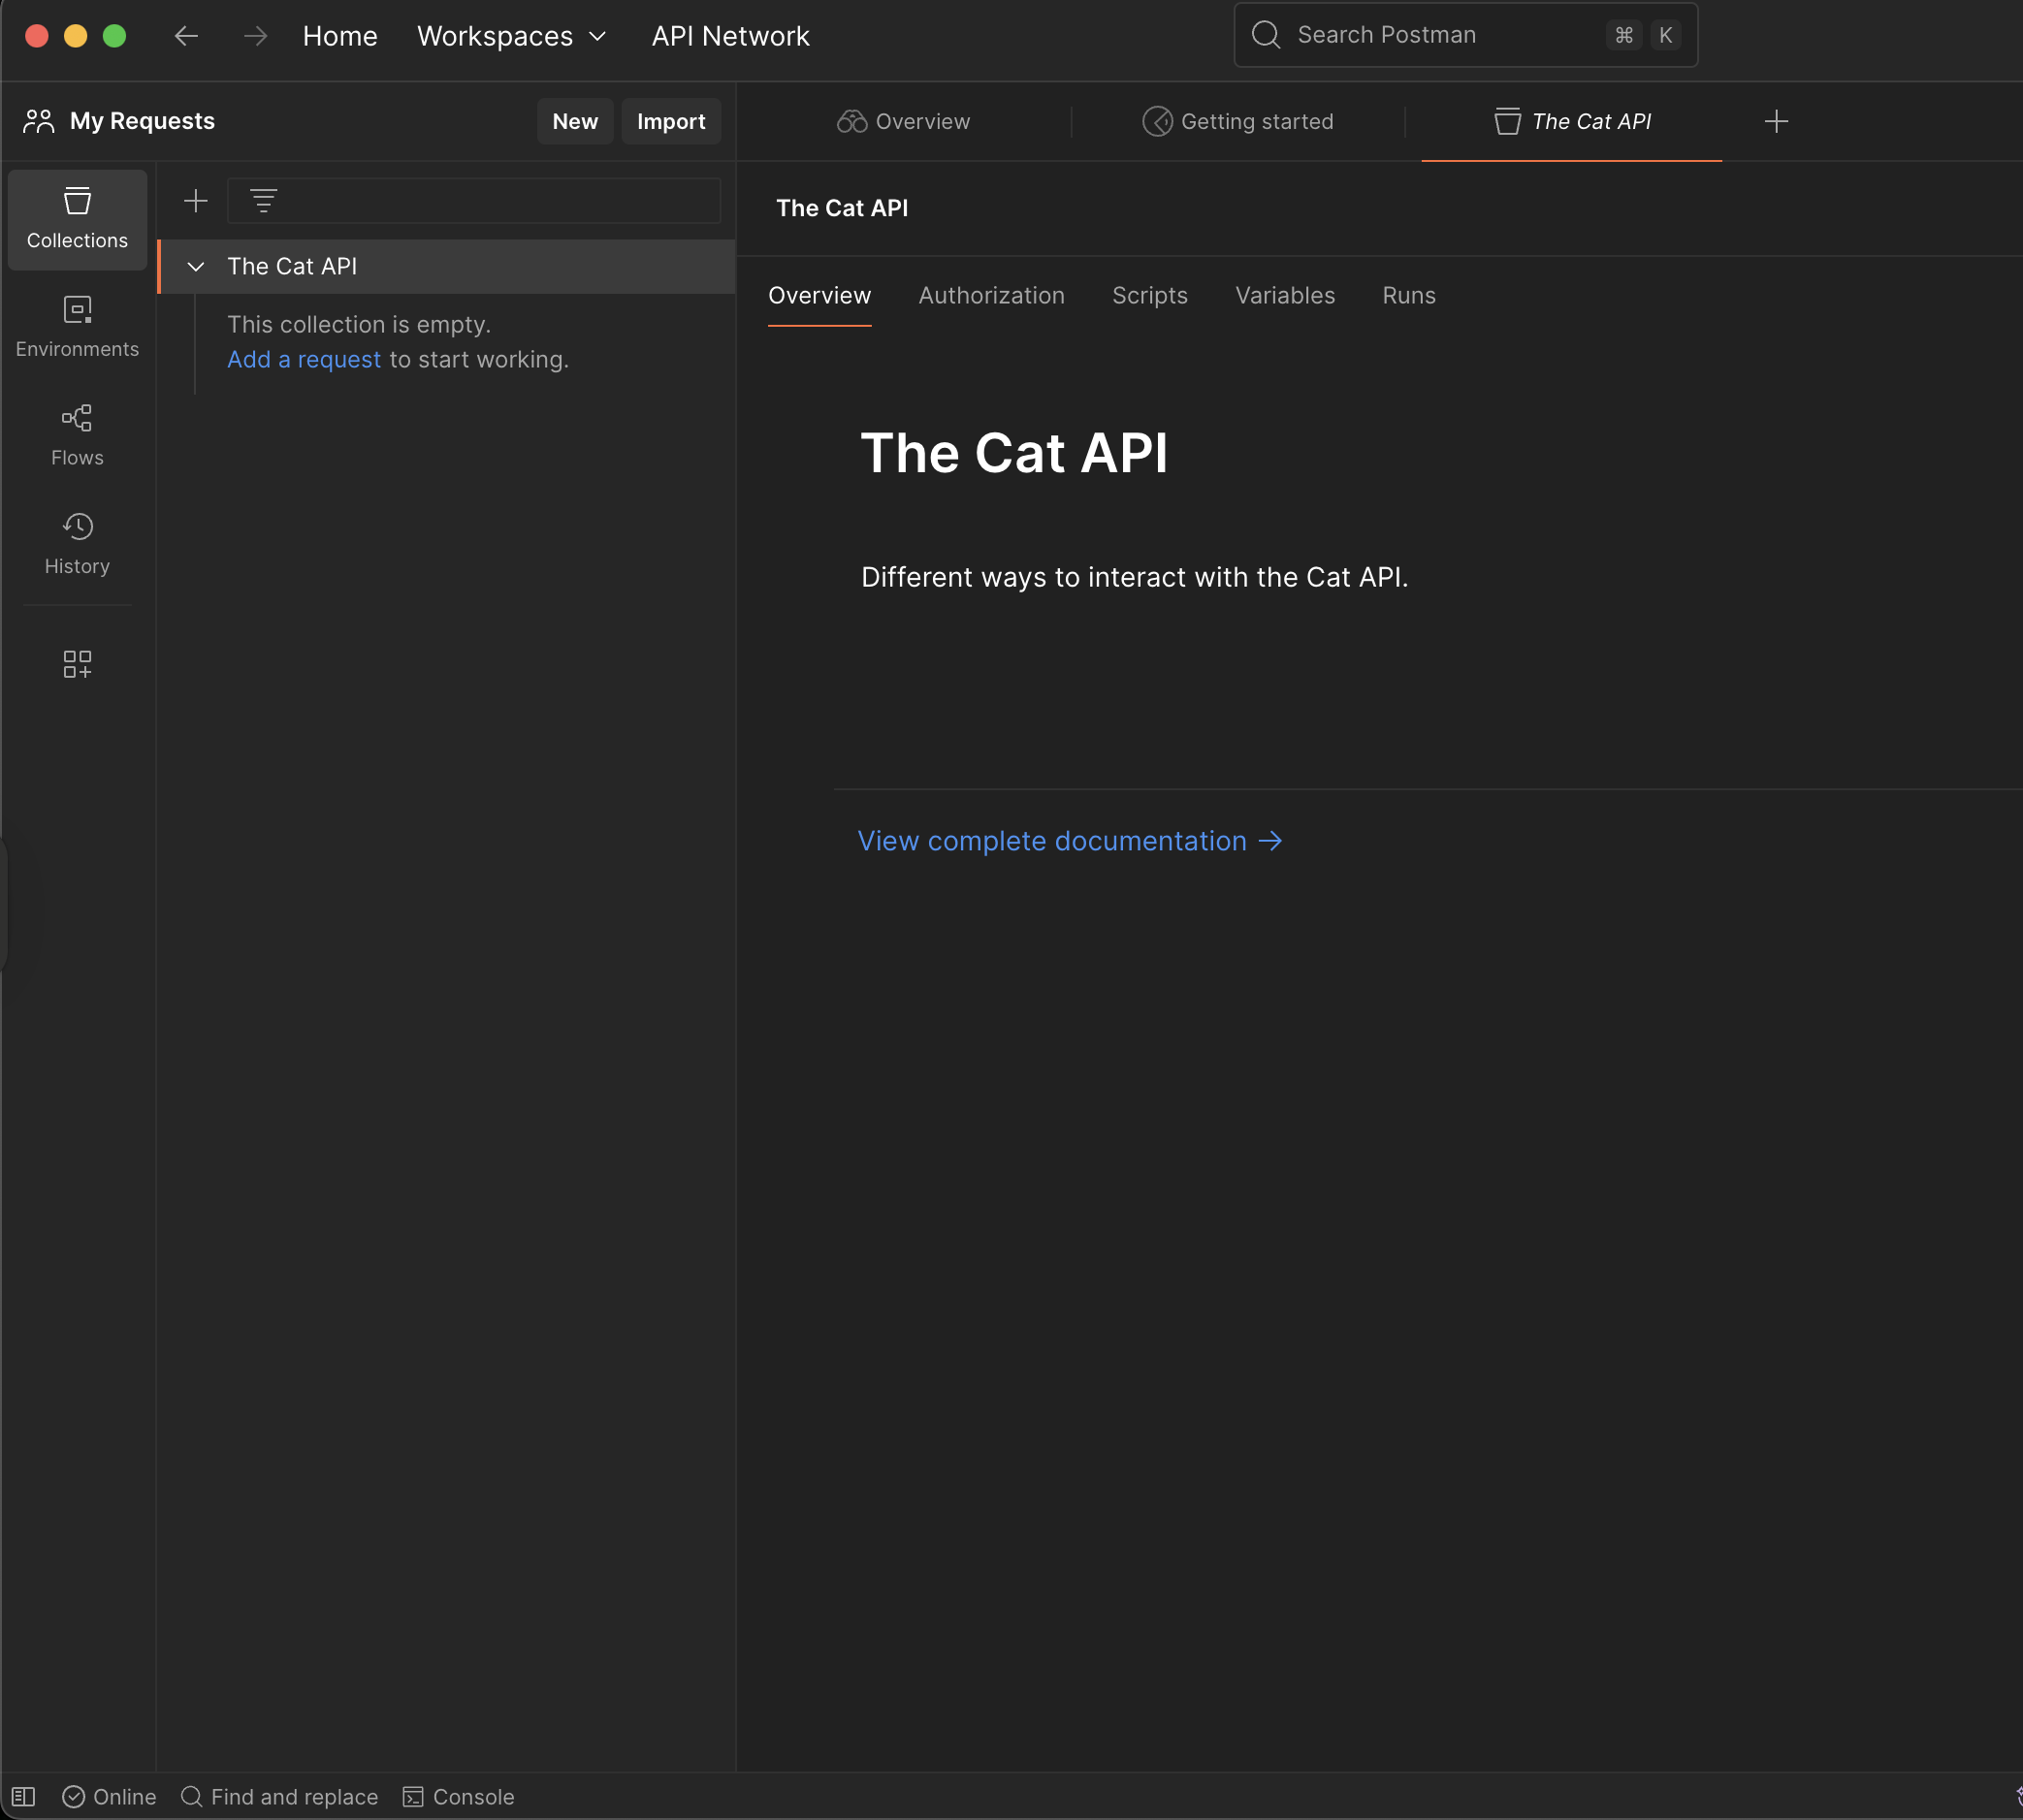
When you create a new workspace, Postman may automatically add a template collection named “End-to-End Tests”. You can safely remove it to keep your workspace clean and focused.
To delete it:
Click the three dots (⋮) next to the collection name, then select Delete.
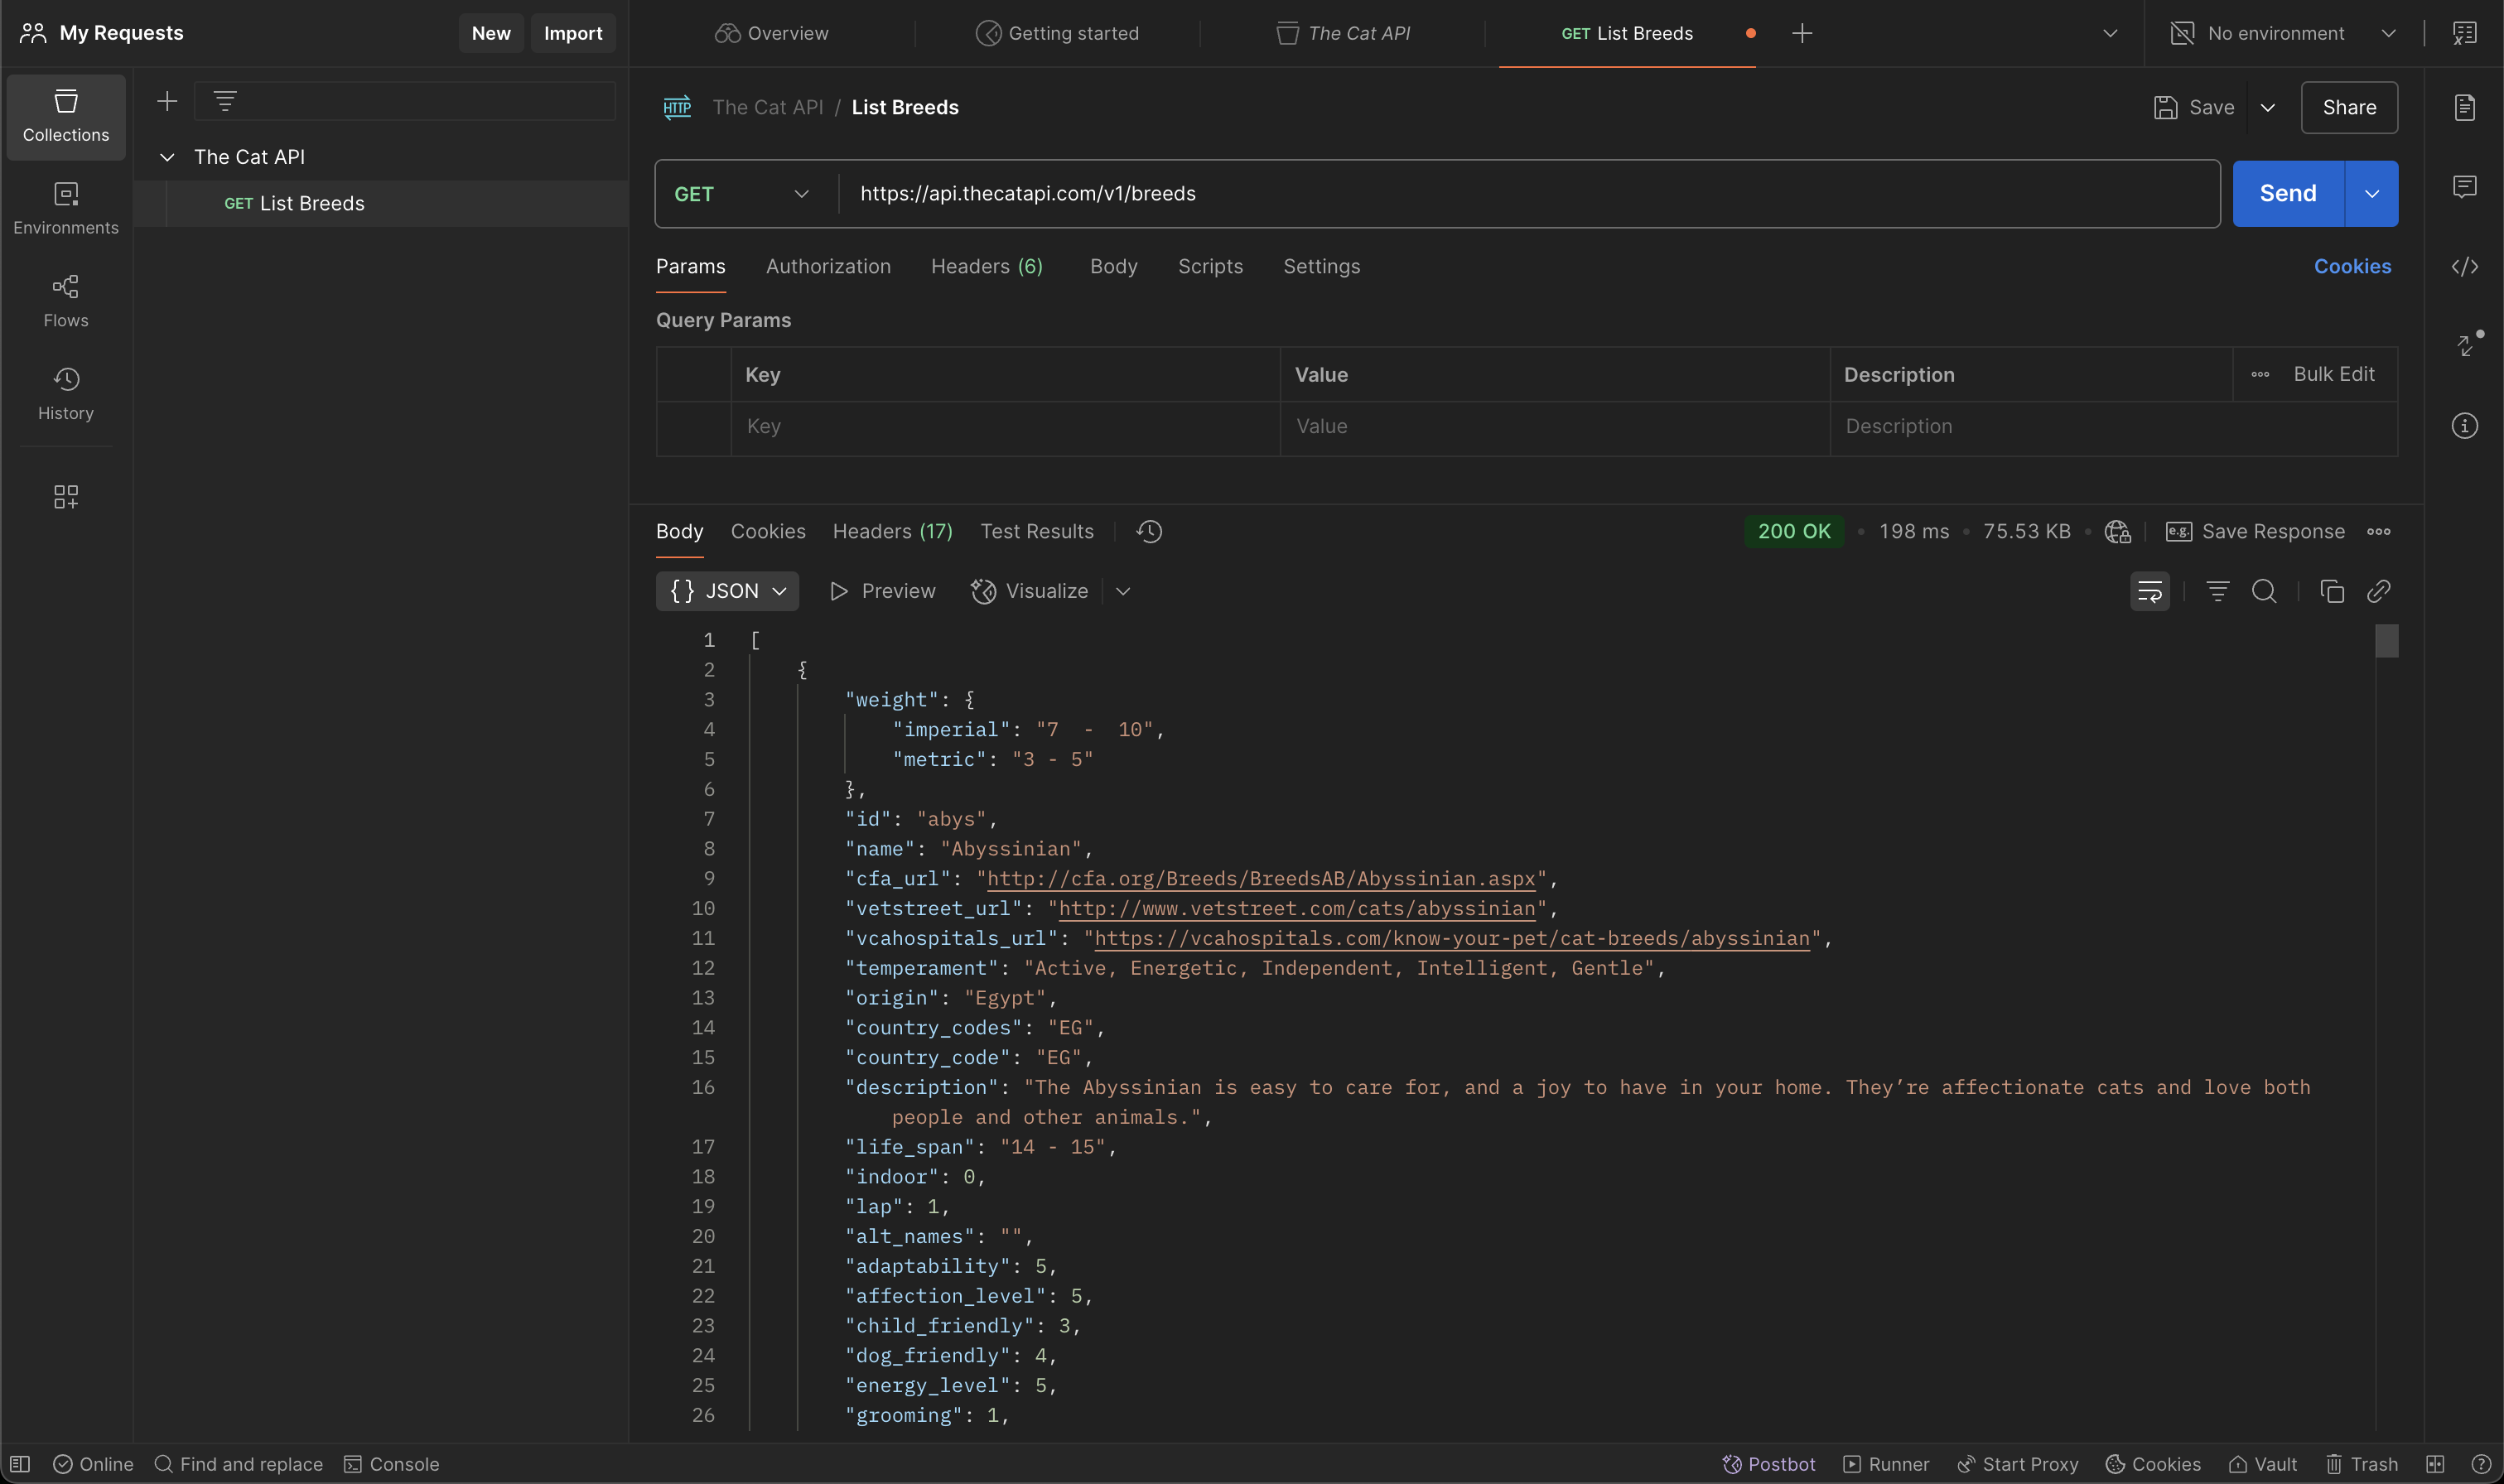
Adding Your First GET Request
Now that you’ve created your collection, it’s time to add a request. We’ll start by adding a basic GET request to The Cat API to retrieve a list of cat breeds.
To do this:
- Click the name of your collection (The Cat API) in the left sidebar.
- Click the three dots (
⋮) next to the collection name, then select Add request. - Give your request a name — for example, List Breeds.
- In the Request type dropdown, make sure
GETis selected. - In the URL field, paste the following endpoint:
https://api.thecatapi.com/v1/breeds
- Click Save (upper right) and choose Save to “The Cat API” collection.
You’re ready to send your first request! Click the Send button.
You should see a 200 OK response along with a list of cat breeds in the response body.
Using Query Parameters
Many APIs allow you to filter or customize your results using query parameters. These are added to the end of the URL after a ? symbol and follow a key=value format.
Let’s try an example using The Cat API’s search endpoint to retrieve only a few cat images in GIF format.
- In your The Cat API collection, add a new request.
- Name the request: Search Cat Images
- Set the request type to
GET. - In the URL field, paste the following:
https://api.thecatapi.com/v1/images/search
- Switch to the Params tab (below the URL field).
- Add the following query parameters:
| Key | Value |
|---|---|
mime_types |
gif |
limit |
3 |
size |
small |
- Click Send to execute the request.
You should see a list of cat image objects, each with a url field pointing to a different cat GIF.
If you look carefully at the response, you’ll notice that it returns 10 elements instead of the 3 we specified in the limit parameter. This is because that parameter only works for authenticated users.
The reason is simple: while you can request fewer items (like 3), you can also ask for much larger amounts—such as 20 or even 100 images. If anyone could do this without limits (for example, a bot), The Cat API’s resources could be overwhelmed very quickly.
That’s why even seemingly harmless actions often require some form of access control to prevent abuse or unintended behavior.
In the next section, we’ll explore how authentication works and how Postman can help you manage your credentials securely.