Workshop: Building a Digital Exhibit
From Archives to the Web in 60 Minutes
This tutorial will guide you through the process of publishing a digital exhibit using CollectionBuilder, a popular tool designed and maintained by librarians at the University of Idaho.
To achieve this, we will be using three main tools:
Prerequisites
To follow along with this tutorial, you will need:
- Access to your UCSB Google account to use Google Sheets.
- A GitHub account to manage your CollectionBuilder project.
If you don’t have a GitHub account, go to GitHub’s Sign-Up Page and create one using your UCSB or any Google account. It’s free and only takes a few minutes!
Step 1: Collect your materials
You can start by gathering some materials for your digital exhibit. For this tutorial, we will be using a small collection of vintage postcards from a private collection. These postcards feature various landmarks and scenes from around the world, and they will serve as the primary content for our exhibit.
To get started, download the images for this tutorial from postcards.zip. Unzip the file and save the images to a folder on your computer where you can easily access them later.
Step 2: Copy the Google Sheets template
- You can use this template to start creating your metadata: CollectionBuilder Metadata Template.
- Make a copy of the template by clicking on
File>Make a copyin the Google Sheets menu. This will create a new spreadsheet in your Google Drive that you can edit and customize for your exhibit.
Step 3: Fill in the metadata
- Create the metadata for your exhibit by filling in the Google Sheets template. Each row in the spreadsheet represents an item in your collection, and each column corresponds to a specific metadata field. Some of the key columns you will need to fill out include:
| Column Name | Description |
|---|---|
objectid |
A unique identifier for each item (e.g., postcard1, postcard2). |
format |
MIME Type format of the object; e.g., ‘image/jpg’, ‘image/png’, ‘application/pdf’ |
filename |
The name of the file associated with the item (e.g., postcard1.jpg). |
title |
The title of the item (e.g., Eiffel Tower Postcard). |
description |
A brief description of the item (e.g., A vintage postcard featuring the Eiffel Tower in Paris, France.). |
date |
The date associated with the item (e.g., 1920s). |
subject |
A list of keywords or subjects related to the item, separated by semicolons (e.g., landmark; Paris; vintage). |
location |
The location associated with the item (e.g., Paris, France). |
latitude |
The latitude coordinate of the item’s location (e.g., 48.8584). |
longitude |
The longitude coordinate of the item’s location (e.g., 2.2945). |
language |
The language of the item’s description (e.g., en). |
Not all fields are mandatory, but we recommend filling out as many as possible to enhance the discoverability and richness of your exhibit. The objectid, format, and filename fields are essential for linking your metadata to the corresponding media files.
CollectionBuilder requires that you save your Google Sheets metadata as a CSV file. To do this, go to File > Download > Comma-separated values (.csv, current sheet) in the Google Sheets menu. Save the CSV file to a location on your computer and name it as metadata.csv.
Don’t open the CSV file in Excel or any other spreadsheet software, as this can alter the formatting and cause issues when uploading to CollectionBuilder.
Step 4: Use CollectionBuilder template to create a repository on GitHub
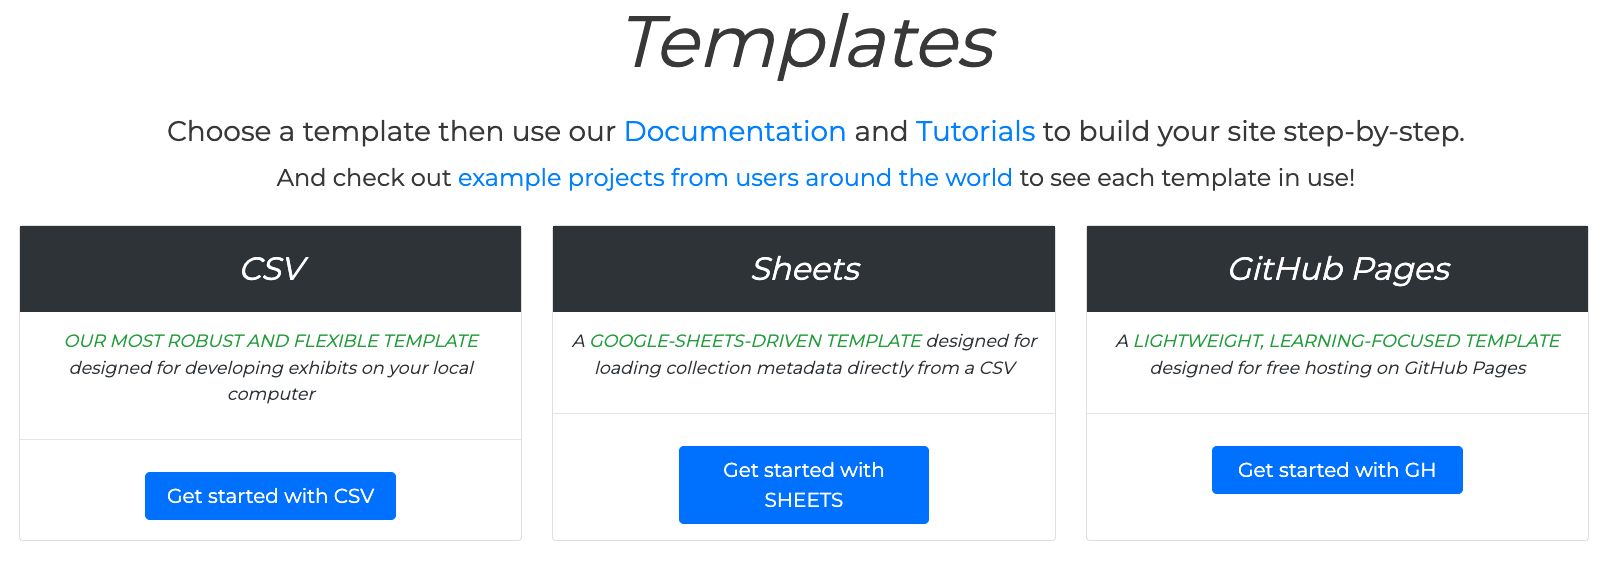
- Go to CollectionBuilder website and choose the “GitHub Pages” template:
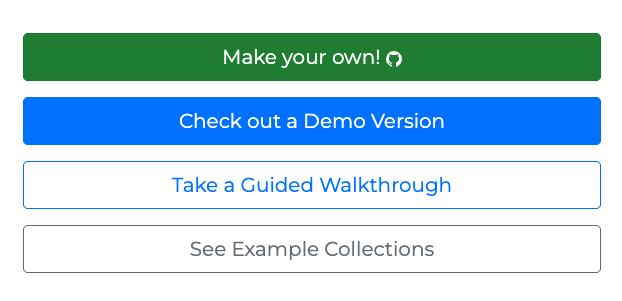
- Create a new repository by clicking on the “Use this template” button. Then, select “Create a new repository”:

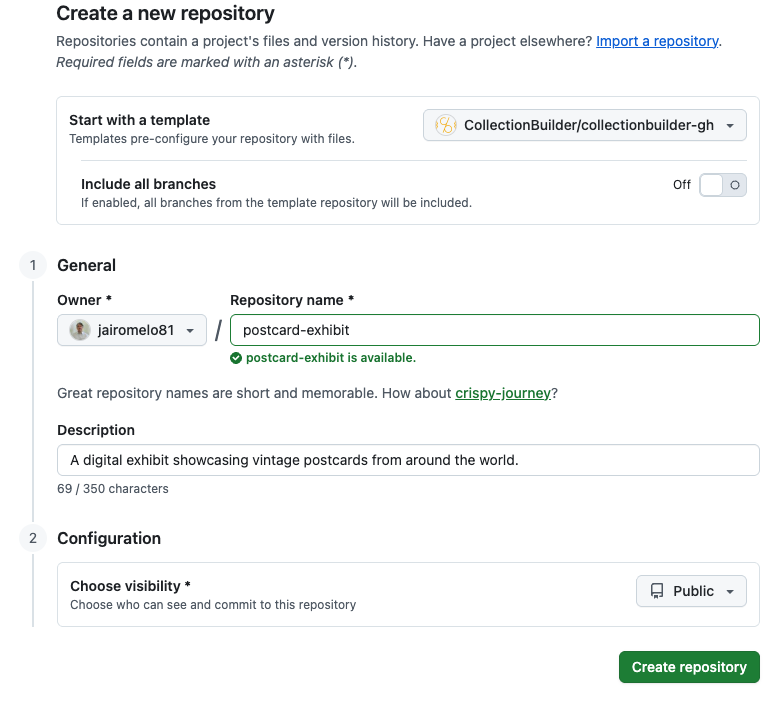
- Fill in the repository name (e.g.,
postcard-exhibit) and add a short description for the repository (e.g.,A digital exhibit showcasing vintage postcards from around the world.). Make sure to set the repository to “Public”. - Click on “Create repository” to start creating the repository.
It’s going to take a few seconds…
Step 5: Upload your media files to GitHub
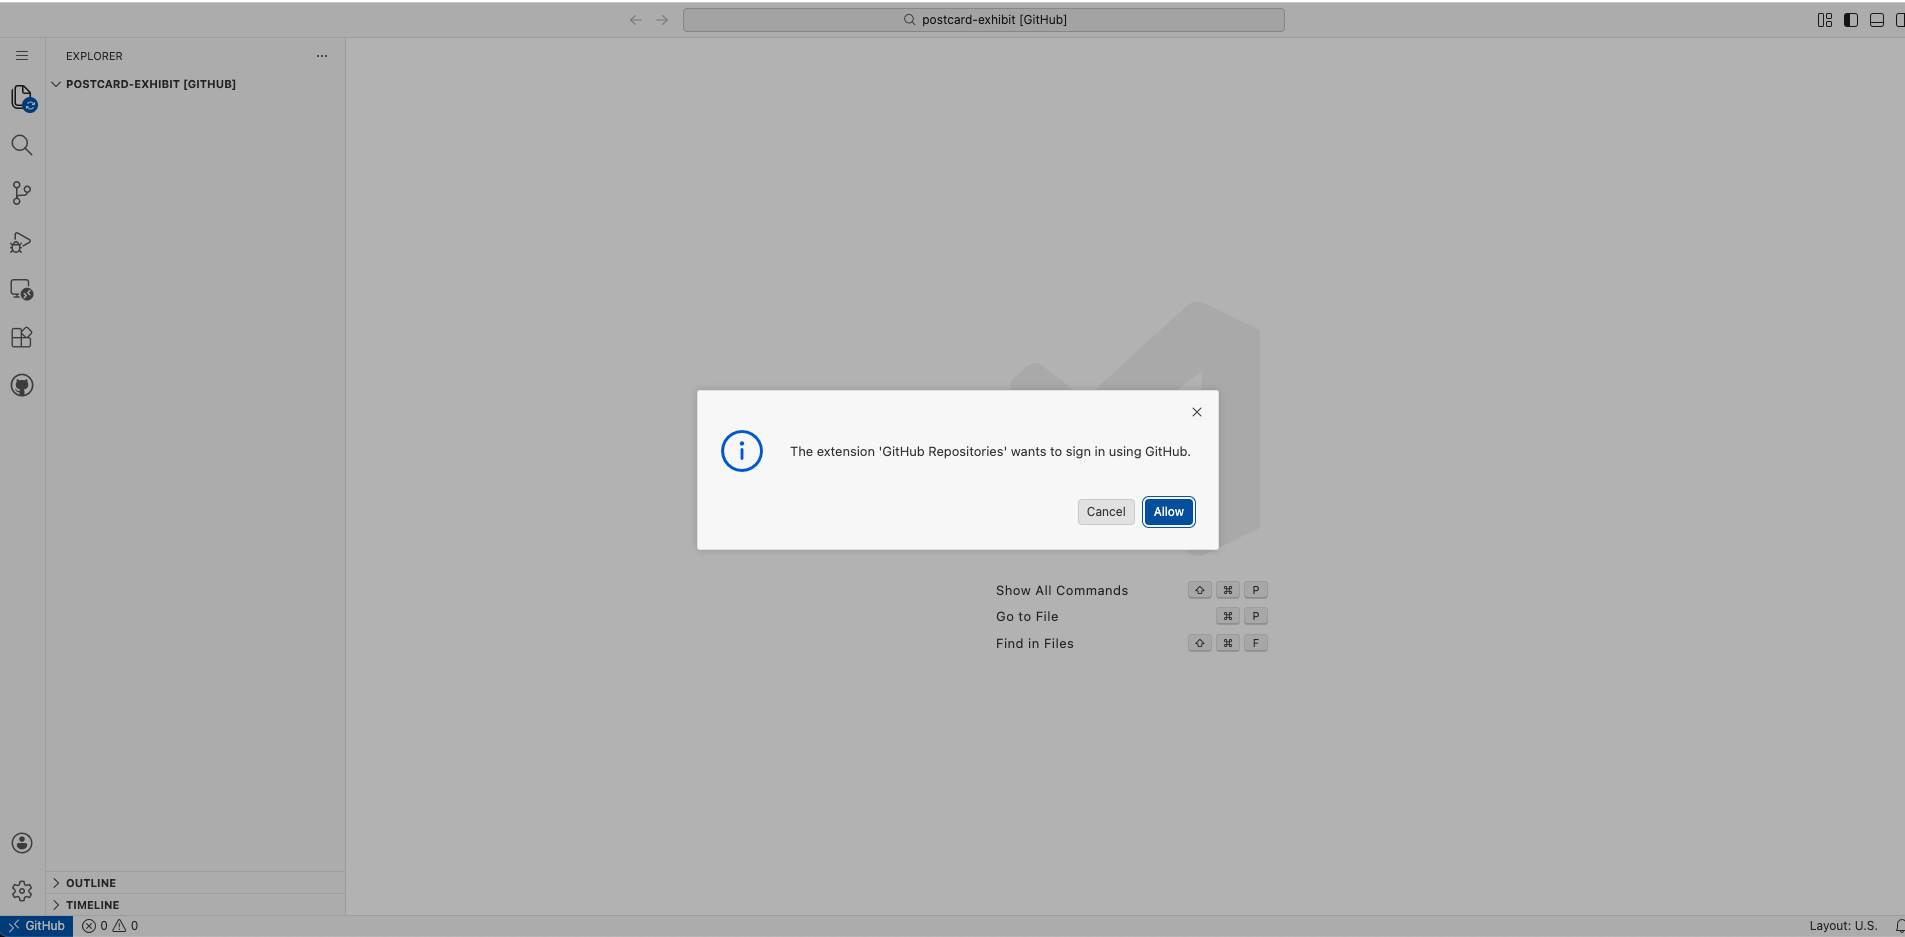
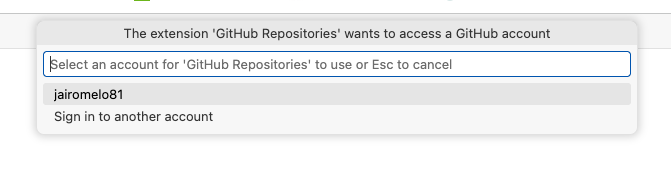
- Type
.in the root of your repository to launch a web-based code editor.
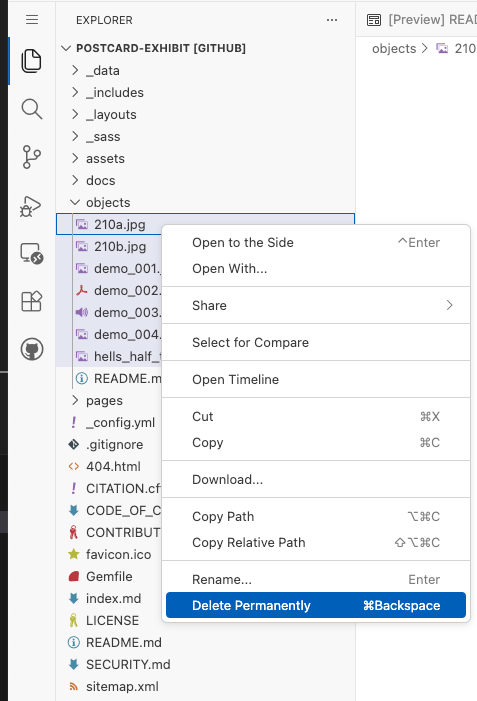
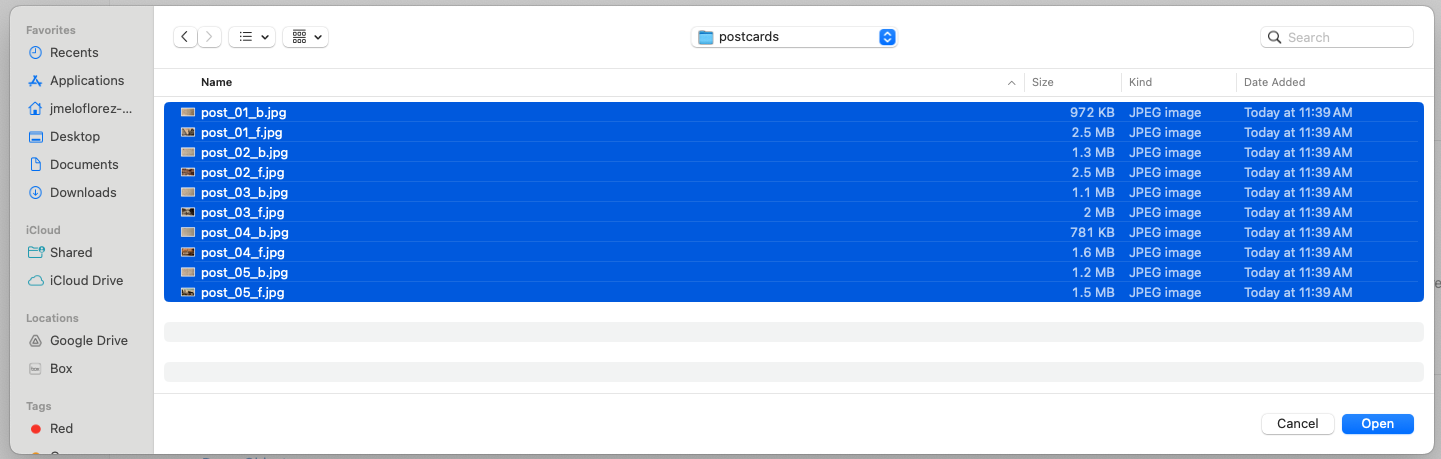
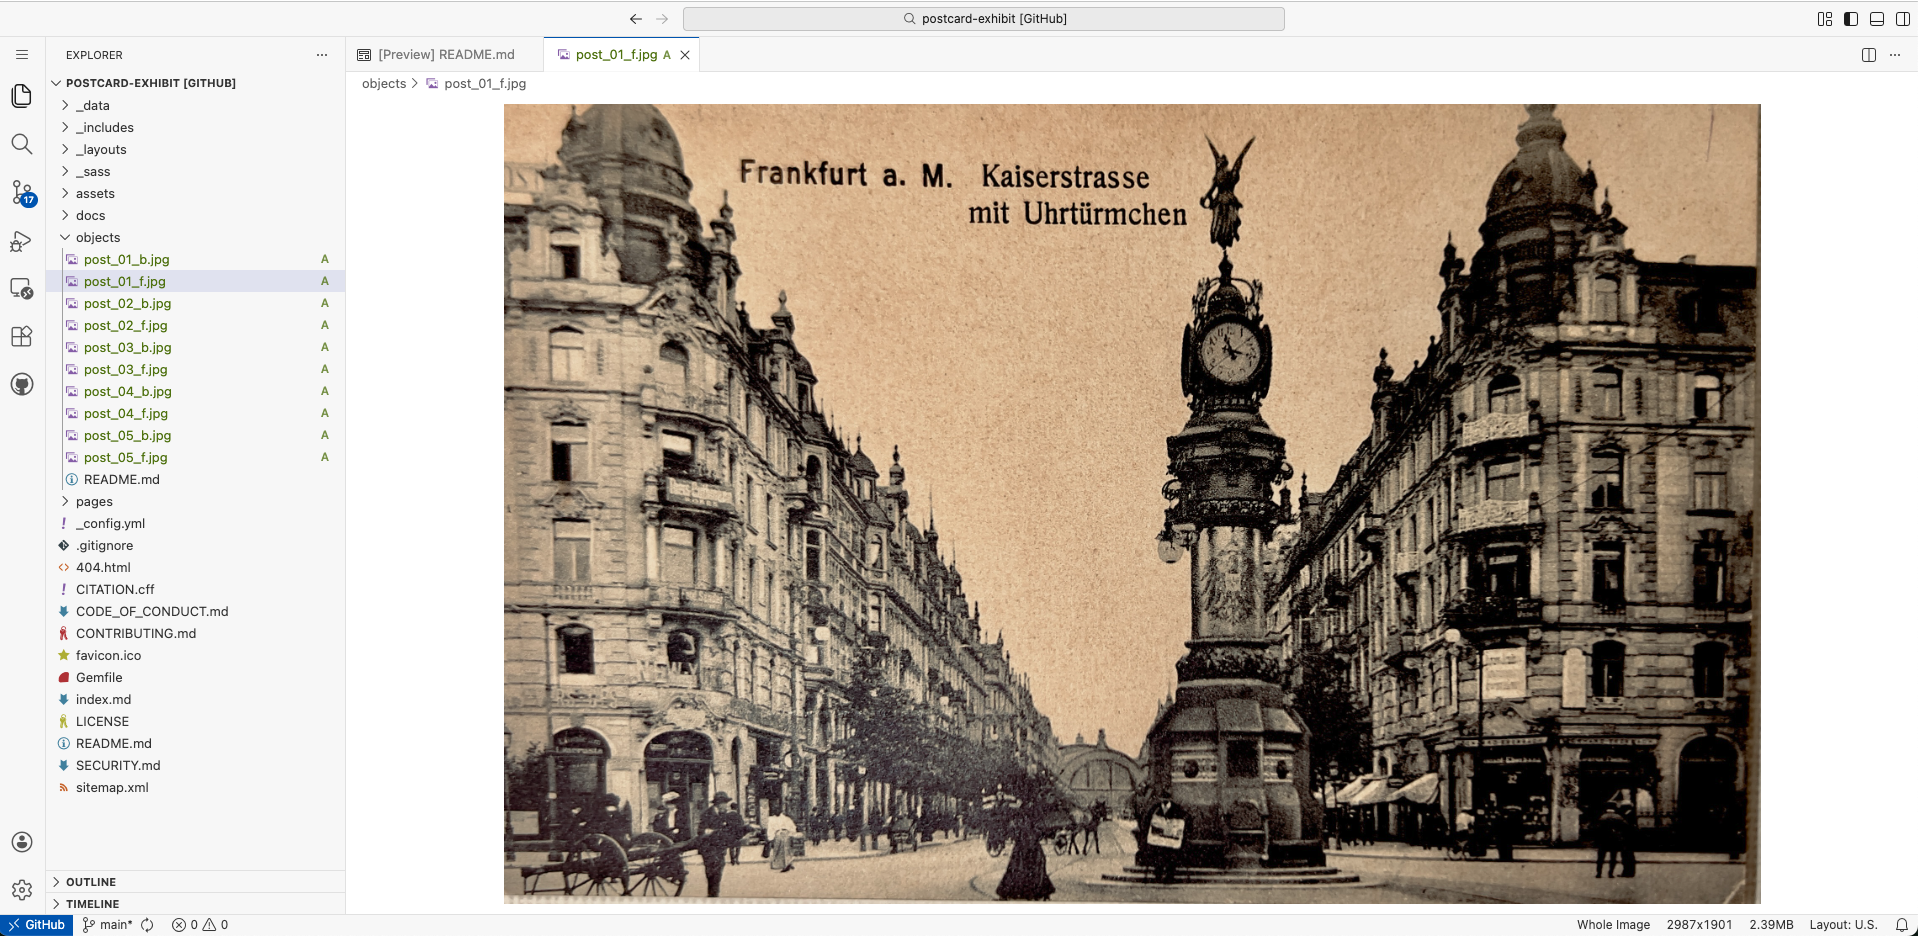
- Delete the existing media files in the
objectsfolder (do not remove theREADME.mdfile):
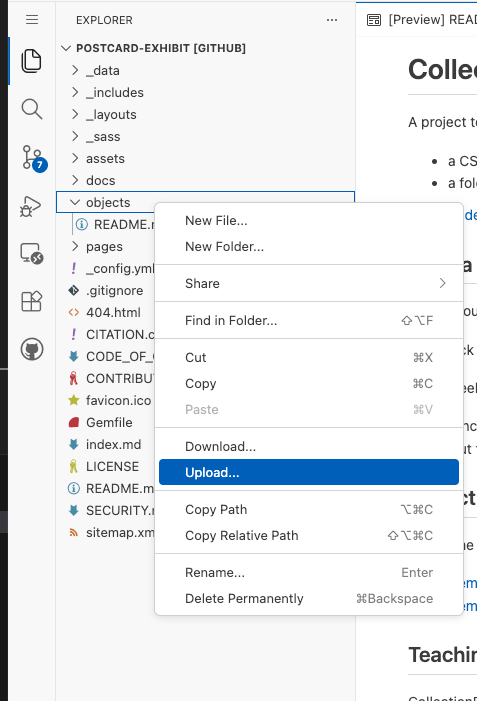
- Right-click on the
objectsfolder and select “Upload”:
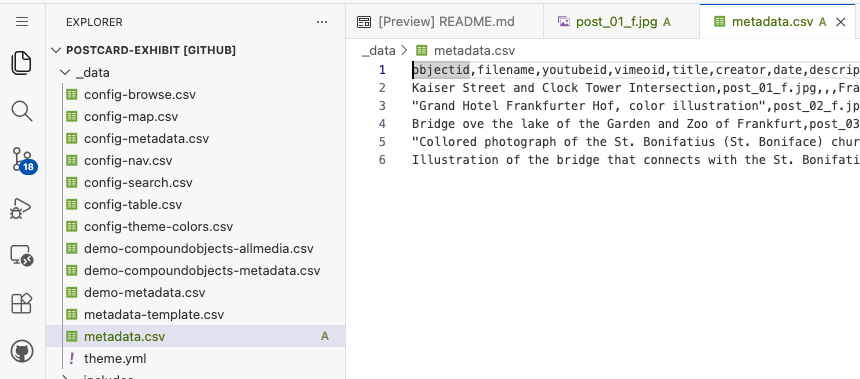
Step 6: Upload your metadata CSV file to _data folder
- Upload your
metadata.csvfile to the_datafolder:
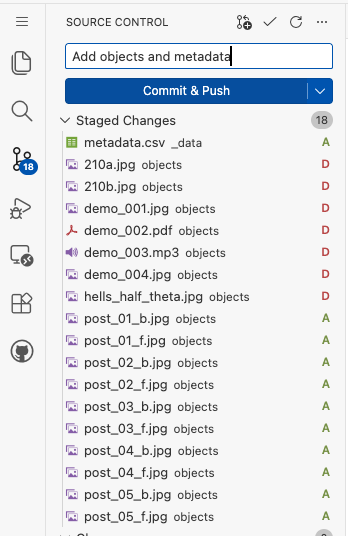
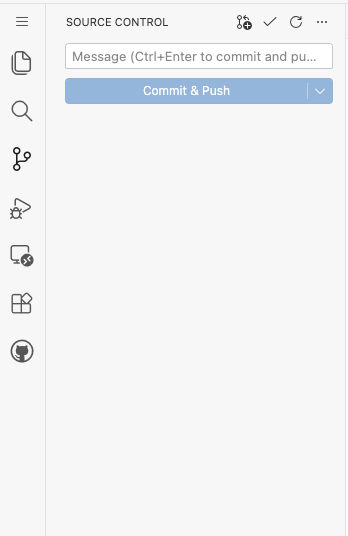
- Add and commit your changes to the repository:

Step 7: Configure CollectionBuilder
- Go to
_config.ymlfile in the root of your repository and edit the following lines:
##########
# SITE SETTINGS
#
# title of site appears in banner
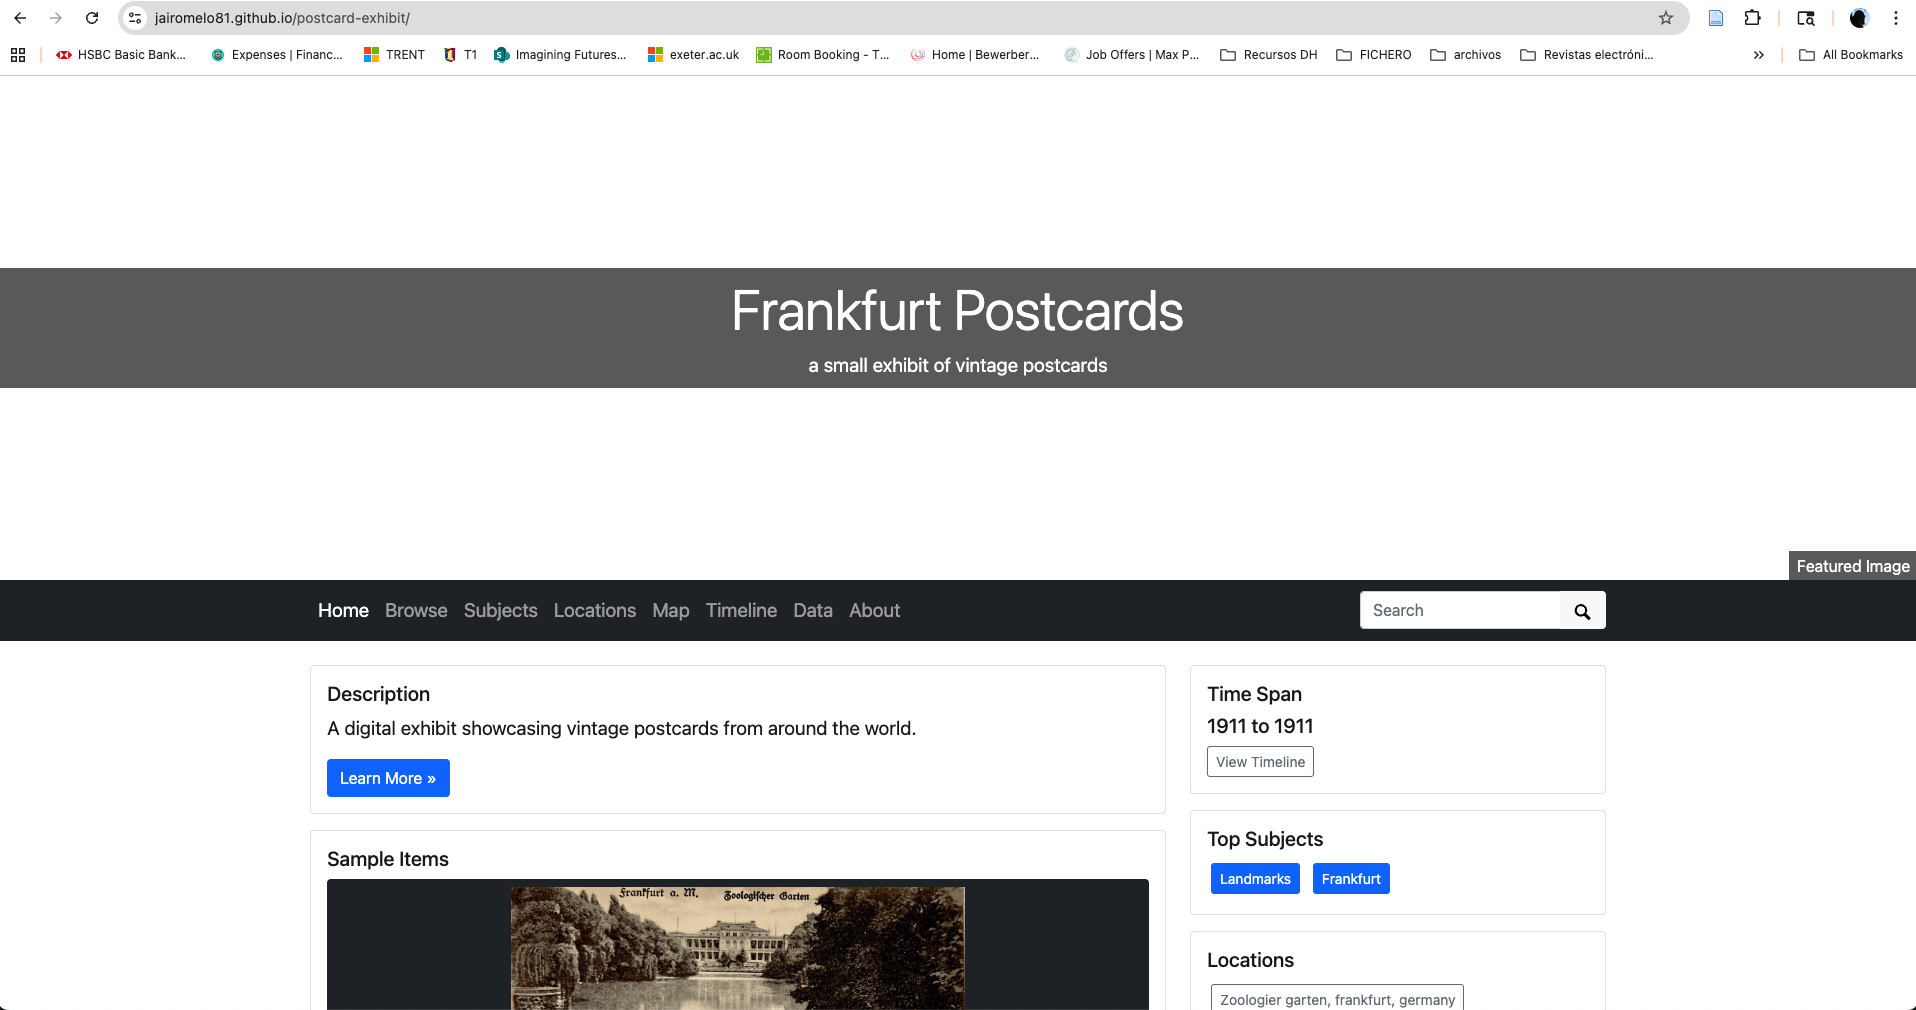
title: Frankfurt Postcards
# tagline, a short phrase that will appear throughout the site in the top banner
tagline: a small exhibit of vintage postcards
# description appears in meta tags and other locations
# this description might appear in search result lists, keep around 160 characters max
description: "A digital exhibit showcasing vintage postcards from around the world."
# creator of the digital collection, to appear in meta tags; we typically use our GitHub usernames but feel free to just use your name
author: Jairo Melo
##########
# COLLECTION SETTINGS
#
# Change the file name from 'demo-metadata' to 'metadata' (without the .csv extension)
metadata: metadata- Stage, commit, and push your changes to GitHub to update the repository.
Step 8: Publish your exhibit
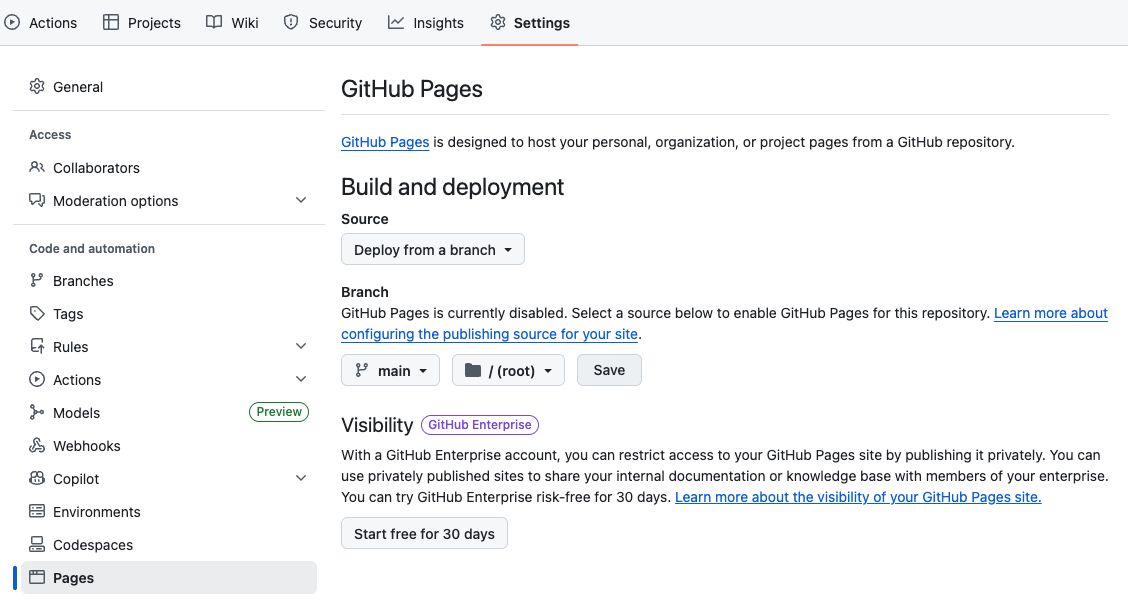
- Go to the “Settings” tab of your repository and scroll down to the “GitHub Pages” section. Under “Source”, select the
mainbranch and click “Save”:
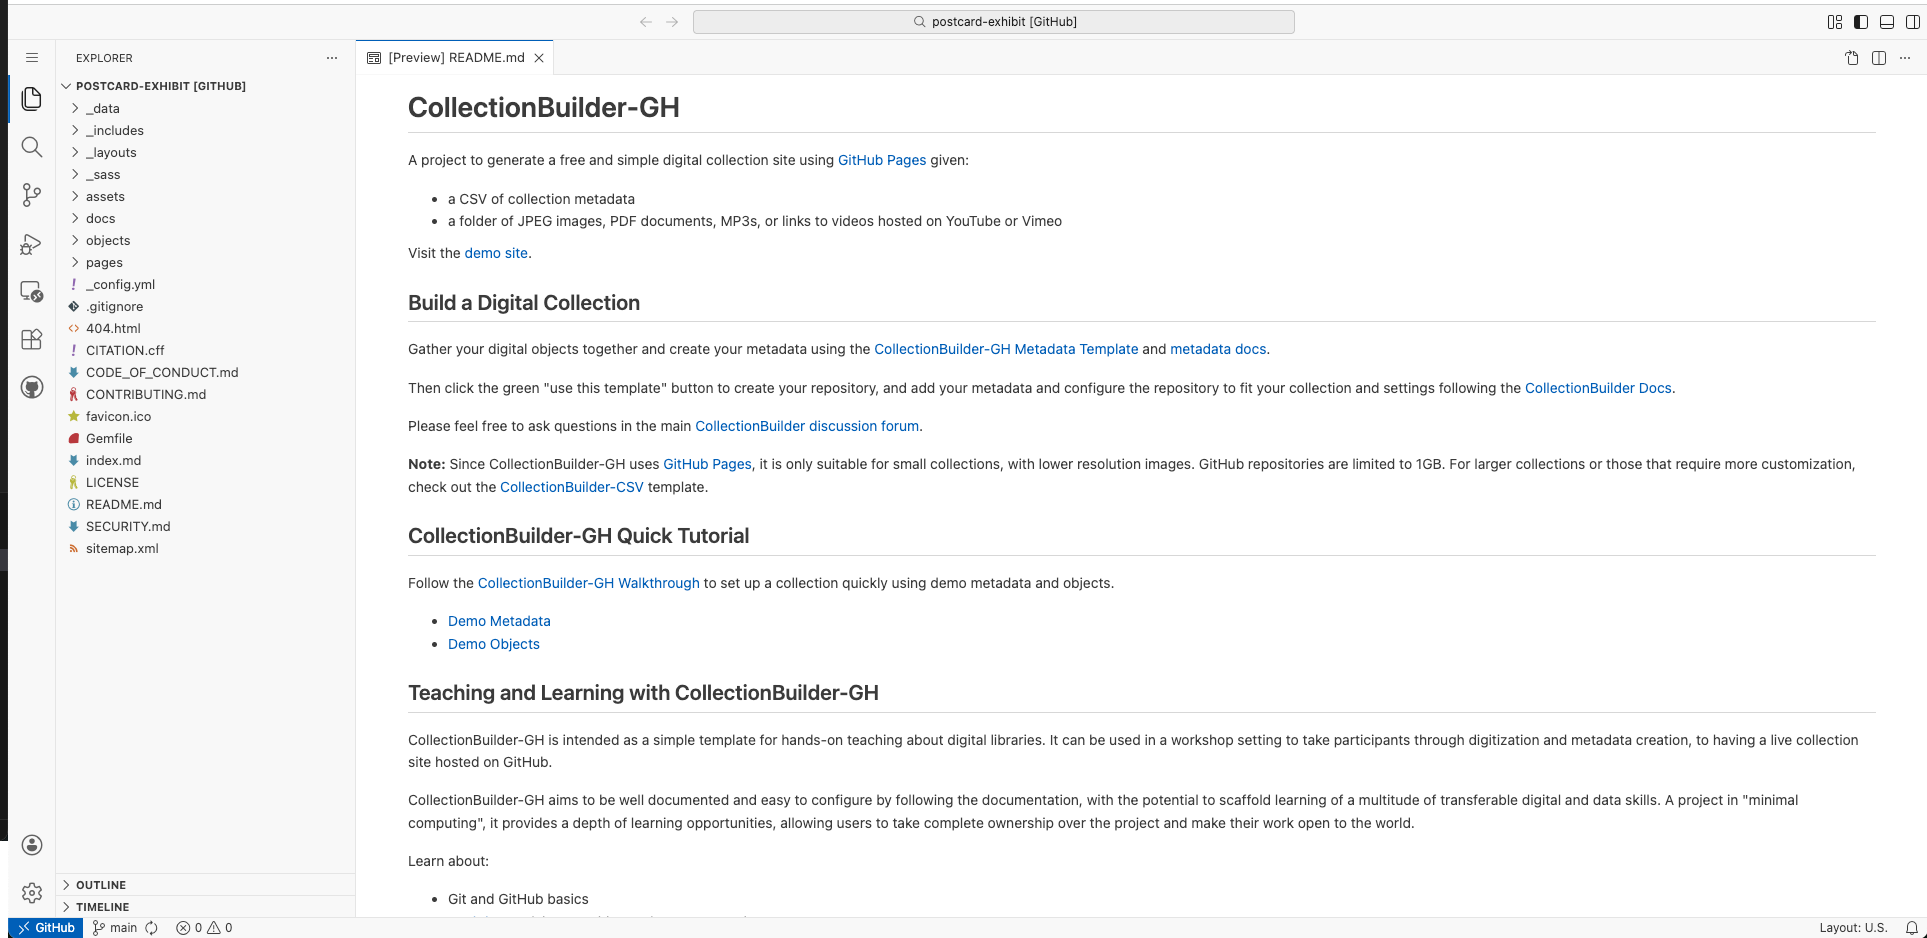
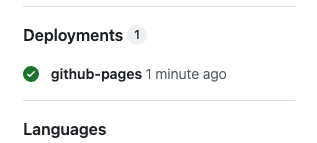
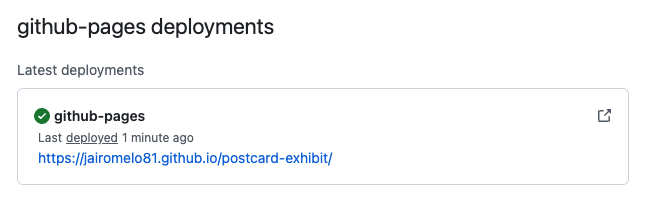
- After a few moments, your exhibit will be published and you can access it at the URL provided in the “GitHub Pages” section.
Congratulations! You have successfully published your digital exhibit using CollectionBuilder. Now, it’s time for some customization.
Step 9: Customize your exhibit
- Most of the customization options for CollectionBuilder are available in
_data/theme.ymlfile. Let’s change some of the default settings to make our exhibit more personalized.
##########
# HOME PAGE
#
# featured image is used in home page banner and in meta markup to represent the collection
# use either an objectid (from an item in this collect), a relative location of an image in this repo (ex. /assets/img/feature.jpg), or a full url to an image elsewhere
featured-image: post_02 # WARNING: use the objectid, not the filename for this field

# Select a theme from https://bootswatch.com/ and add the name of the theme here. The default is "flatly".
bootswatch: spacelab- More complex customizations, such as changing the layout of the item pages or adding new features, will require editing the HTML and CSS files in the repository. But for now, you can explore the various options available in the
_data/theme.ymlfile to further customize the look and feel of your exhibit.